Posts in flowers
FLOWER HOMEWORK NO. 1 | A HAND-TIED BOUQUET
a hand-tied bouquet | via: bekuh b.

I’ve always been a bit of a teacher’s pet and actually enjoy homework. I get a thrill submitting projects for review and anxiously await the feedback. I get especially excited when I’m proud of my work. My first flower homework assignment was no exception.

For our first assignment in Flower Arranging 101 we were shown how to create a hand-tied bouquet- characterized by its spiraled stem base that stands on it’s own, and a 360 design that looks good from every angle.

a hand-tied bouquet | via: bekuh b.

I really enjoyed the challenge of creating the spiral in the hand-tied bouquet and ended up redoing the project twice. It was important to me to get it right and I now feel like I could easily pick up a bunch of flowers and create a hundred of these standing beauties. This style of bouquet is popular for weddings, and for gifting because the receiver simply has to fill a vase and plop the flowers inside.

For my hand-tied bouquet I decided to choose flowers in warm autumnal hues with greenery that had a blueish tint to compliment them. I used golden mums, red protea (a tropical flower), a yellow and brown autumn berry mix, and eucalyptus leaves and berries for the filler. The results felt lush and organic, and I puffed my chest out in pride. - b.

a hand-tied bouquet | via: bekuh b.
FLOWER ARRANGING 101 WITH CHELSEA FUSS
flower arranging 101 with chelsea fuss

I decided to give myself a little birthday gift this year- my very first flower arranging class! Though I thought my first class would be surrounded by old women in a church basement (or something) I'm happy to report that after a lot of research I landed on a much better option. I'm taking an online floral design course taught by the talented floral designer and prop stylist Chlesea Fuss.

The course is four weeks long and each week covers a different flower arranging technique. I've already worked my way through week one and I'm addicted. Sorry, but you can definitely count on my sharing every last homework assignment with you here. 

I've been dying for more floral education and it feels really good to be doing something like this for myself. -b.

FALL CONTAINER PLANTING WORKSHOP
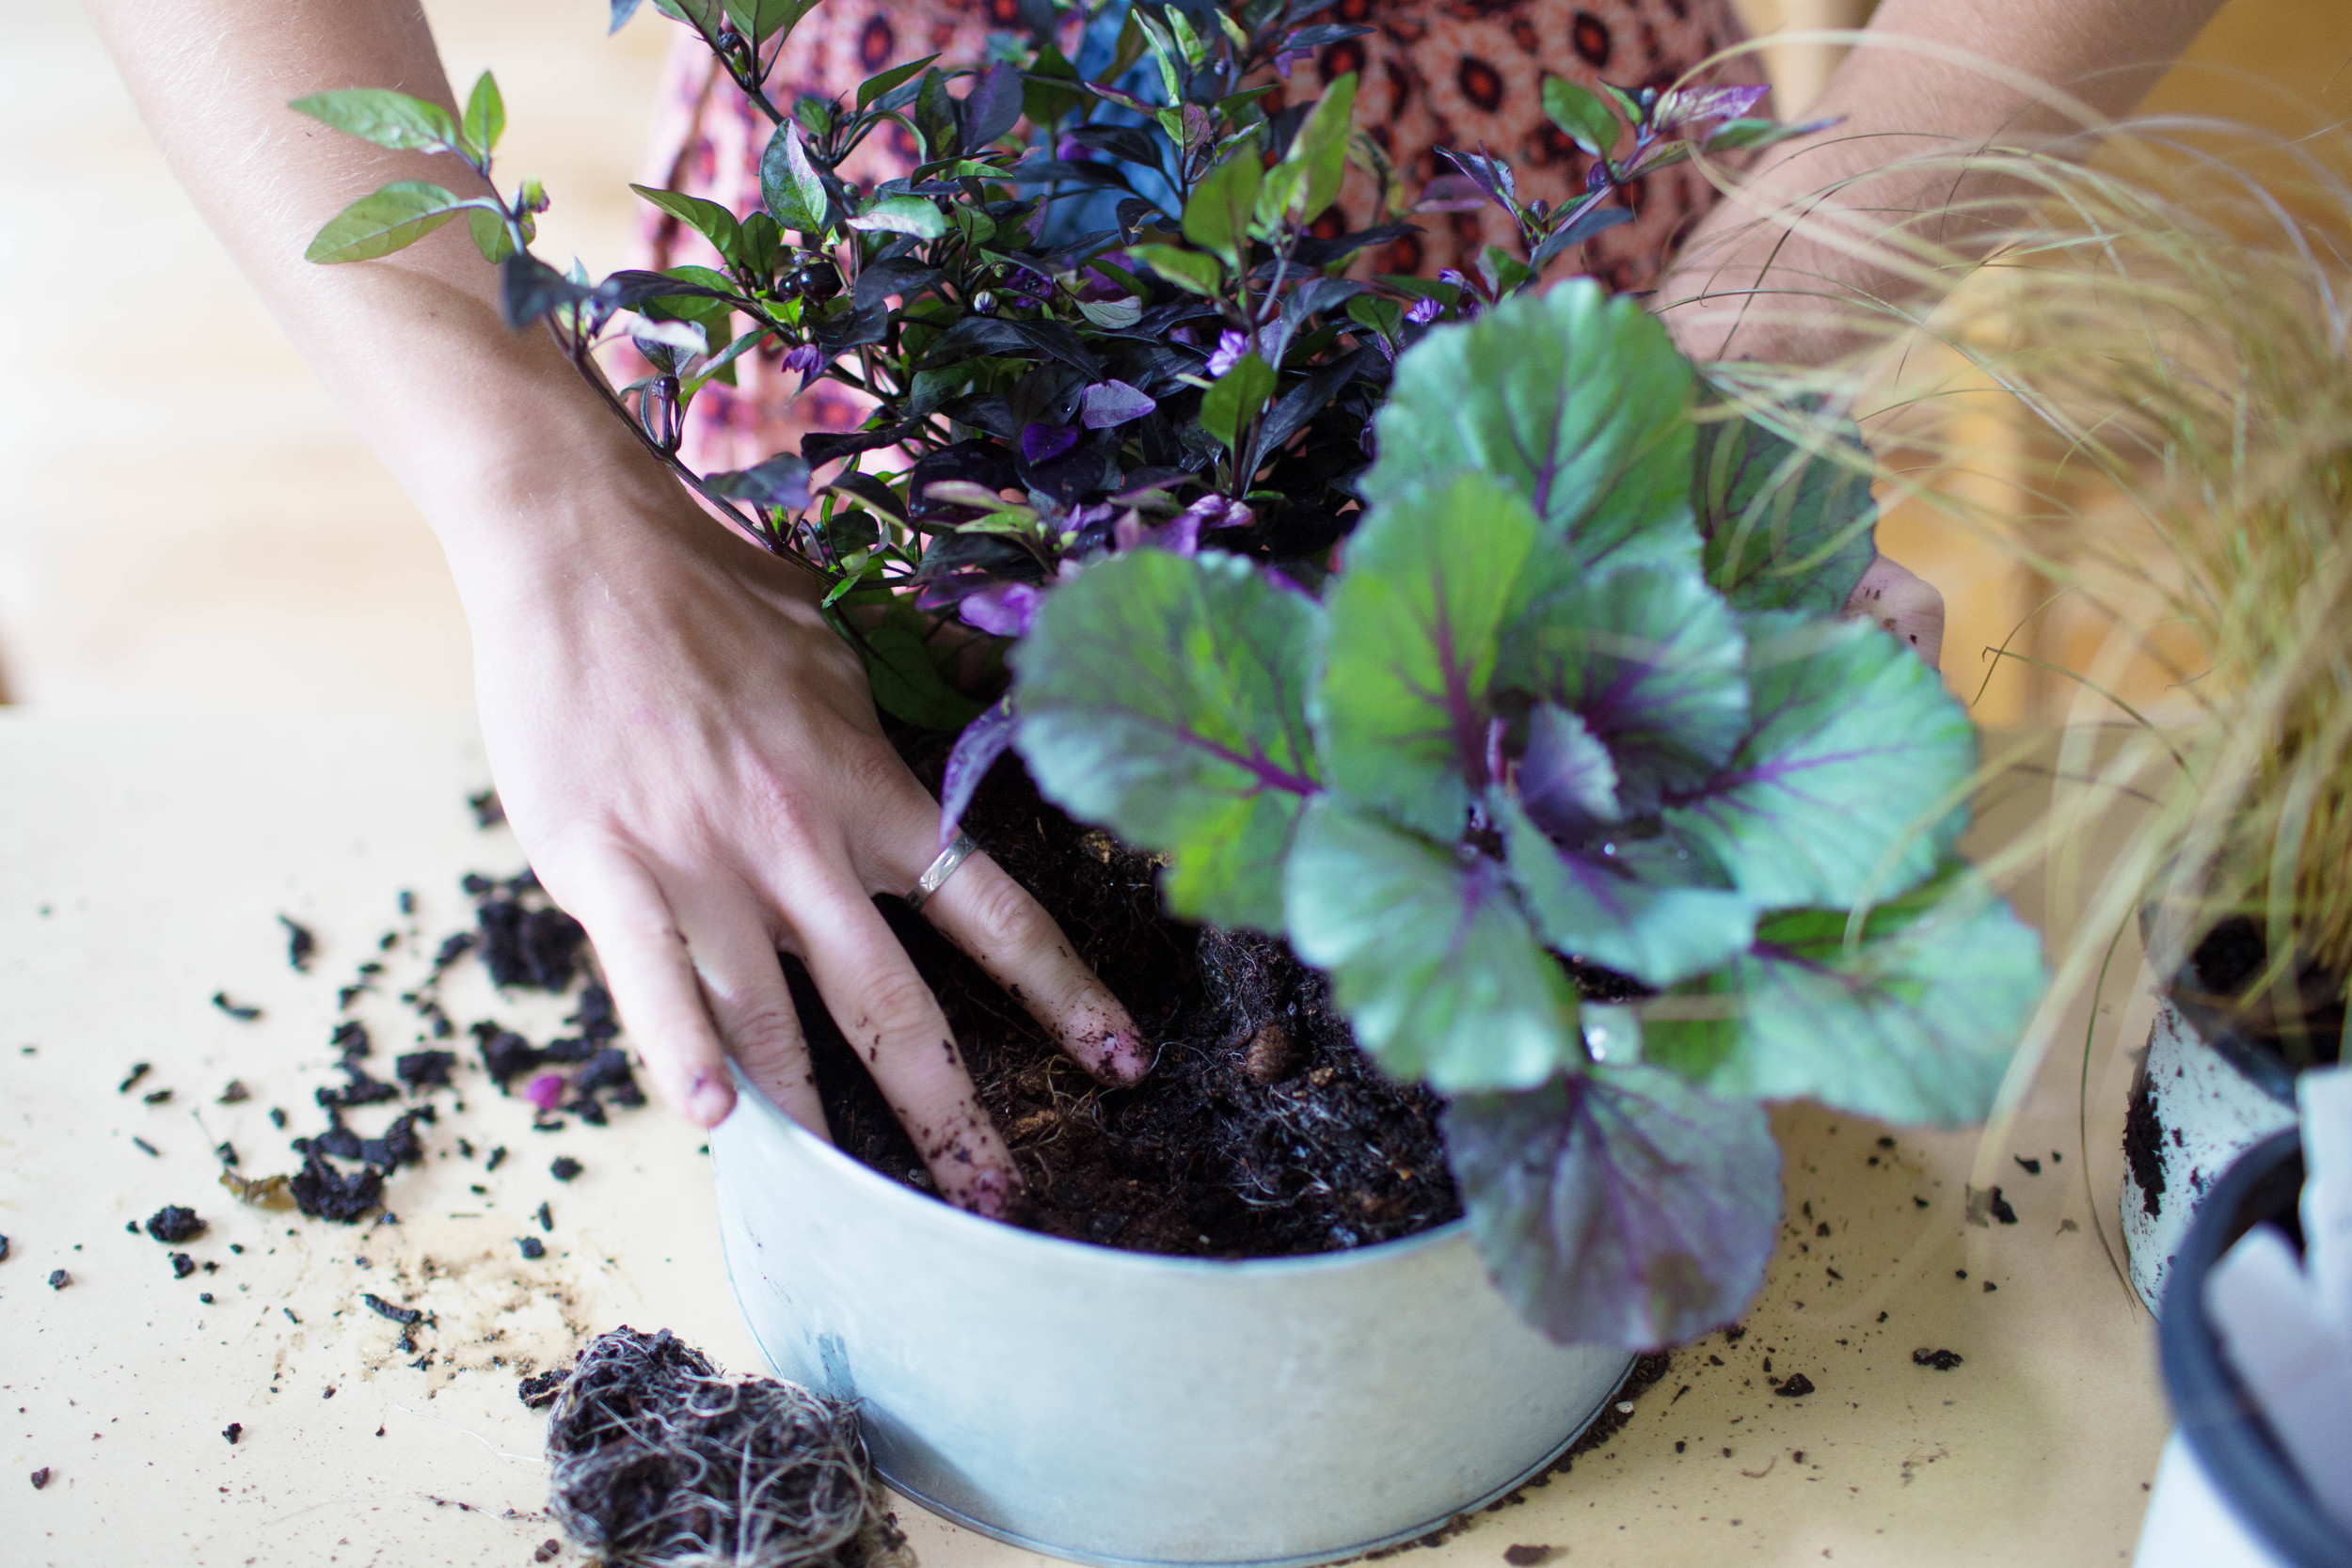
terrain fall container planting workshop | via bekuh b.

On a busy Friday afternoon at work I took a break from my normal desk views to take part in a special workshop during lunch. I had been dreaming of attending one of these workshops for sometime but consistently missed the sign-up (they're popular). Lucky for me one of my sweet colleagues was unable to make it and gave me her spot! 

Terrain, one of the sister brands to to the company I work for, hosts a special topic gardening workshop once a month so they've pretty much got these things down to a science. The topic was fall container planting and it focused on techniques and tricks to create a visually appealing and cooler-temperature-friendly outdoor planter. I'm a big dork and love to get schooled so this was pretty much heaven for me.

terrain fall container planting workshop | via bekuh b.

Terrain's product specialist was on-hand to guide us through the entire process and educate us on the plants we had to choose- there were ornamental leafy greens, peppers and grass, climbing ivies, and asters. Here are some of the tips she shared I found the most interesting:

+ Smaller container plants can be planted at an angle so that their leaves face out and create a more aesthetically pleasing composition.

+ When thinking about your container garden's composition remember these things:

1. Odd numbers are more pleasing to the eye than even. Three being an optimum number

2. Choose plants with varying textures and heights to create visual interest

3. Consider the colors you're using- what is the overall look you're trying to achieve?

+ For container gardens without drainage use a thin layer of gravel or rock before adding your soil. The rocks allow for water to drain away from the roots and sit as a reserve for when your plant needs more water.

+ Plants shouldn't be watered on a schedule, instead check the soil to decide whether your container needs water or not. If the top inch of soil is dry you should wet the soil evenly, if it's moist let it be. 

terrain fall container planting workshop | via bekuh b.

In the end I walked away with a beautiful new fall container filled with an ornamental pepper plant, cabbage and grass. Kind of an amazing work opportunity don't you think? I've already signed up for another workshop, this time on porcelain jewelry. Oh no- I think I'm addicted. - b. 


PS- Thanks to Maddie for the pictures of the workshop! Sometimes it pays to have a photographer as a friend ;)

life, flowersBekuh Browningwork